In this post, I will create a simple command to run a workflow on Github using AWS Gateway service. This post was written when AWS offered 1 million free API calls per month for a 12-month period.
Setup Github
The setup on the Github side is minimal and only requires adding a line to the existing workflow file. For demonstration purposes, I will go use one of the repository from merkez. Let’s choose insthat repository for this occurence.
When we check its existing workflow file, it looks like as follows:
name: Test installation script

on:
  push:
    paths:
      - 'install-tools.sh'
  schedule:
    # 15:05 UTC > 17:05 CEST
   - cron: '5 15 * * *'

  workflow_dispatch:

jobs:
  build:
    runs-on: ubuntu-latest

    steps:
      - uses: actions/checkout@v3

      - name: Test all functions
        run: |
          sudo chmod +x ./install-tools.sh
          sudo bash install-tools.sh --random
The workflow file for the insthat repository is likely one of the simplest you can find. In order to trigger the workflow using an API call, we will need to add repository_dispatch after workflow_dispatch. For more information on repository_dispatch, please check out the following link: https://docs.github.com/en/actions/using-workflows/events-that-trigger-workflows#repository_dispatch
Here are the lines that should be added after workflow_dispatch:
repository_dispatch:
    types: on-demand-run
The final workflow file for the insthat repository can be found at this link: https://github.com/merkez/insthat/blob/main/.github/workflows/test-script.yml
In order to make an API call to trigger the workflow, you will need to generate a Personal Access Token (PAT) with the necessary permissions, at a minimum the “Repo” option needs to be selected. More information on how to generate a PAT can be found here: https://docs.github.com/en/authentication/keeping-your-account-and-data-secure/creating-a-personal-access-token
These are the only steps required on the Github side, no other setup is necessary.
Setup AWS Gateway API
To set up the API Gateway on AWS, you will need to log in to the AWS Console, navigate to the API Gateway service, and select the “Build REST API” option from the list of options available. Once you are in the “Build REST API” page, select the “Rest API” and “New API” options as shown in the screenshot.

Fill out API name and description (optional) and click Create.
In opened window, click “Create Resource” and fill out input fields according to your preference and create it.

Under the “Resources” section, you will need to create a new POST method by clicking on the “Actions” button. This will open a new window, in this window you need to select HTTP as Integration Type. To call the workflow on Github, you need to construct the link. The template for the Github link that we will use is https://api.github.com/repos/{owner}/{repository}/dispatches. In this demonstration, the link will be https://api.github.com/repos/merkez/insthat/dispatches after inserting the specific values.
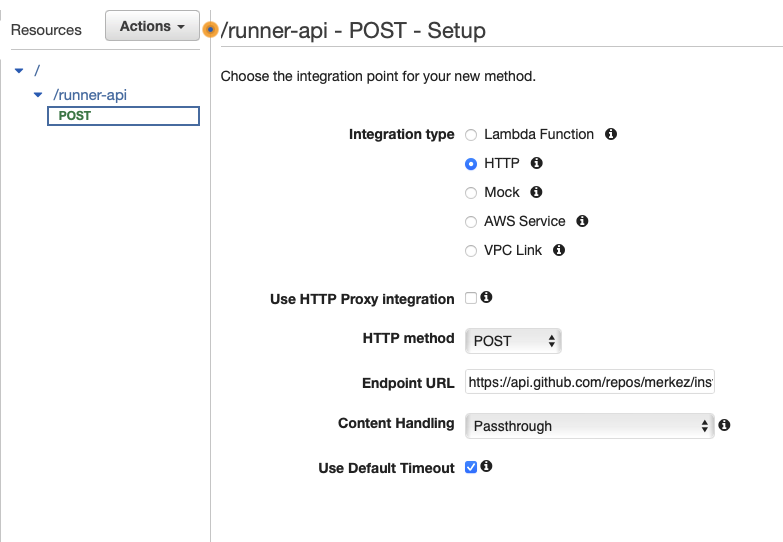
When we applied save, we should be able to see following page:
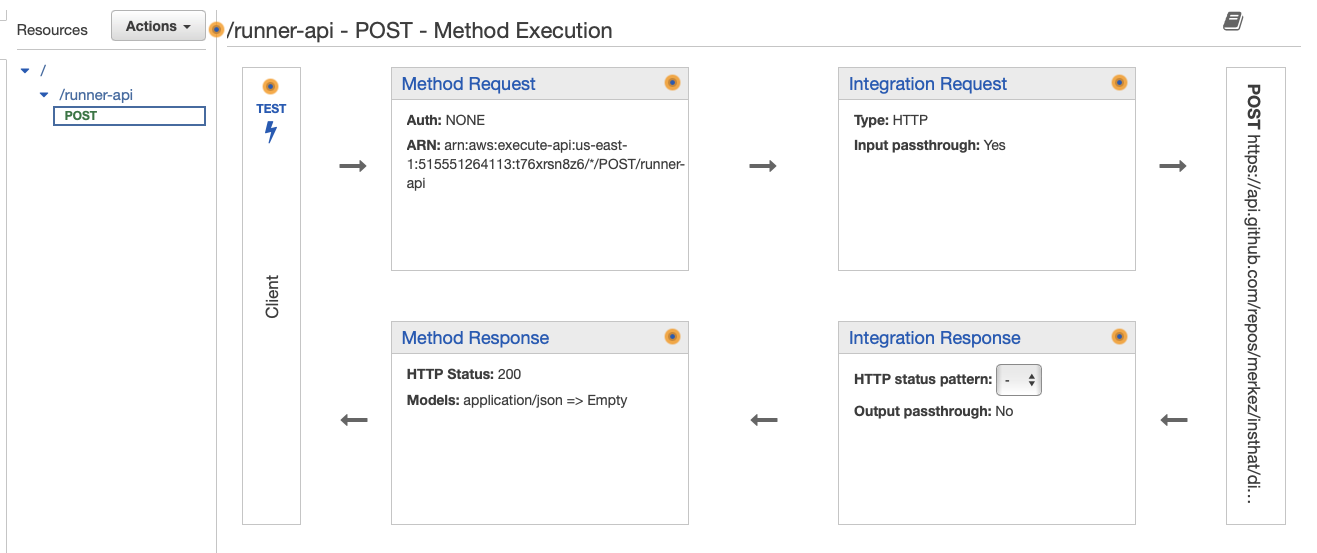
After setting the HTTP link, you will need to navigate to the “Integration Request” box in order to set up the authentication keys and request body for the Github API. To authenticate the request, the following headers need to be set:
| Key | Value |
|---|---|
| Accept | ‘application/vnd.github.v3+json’ |
| Authorization | ‘Bearer {PERSONAL_ACCESS_TOKEN}’ |
Adjust “Mapping Templates” section with Slack’s content type, which is application/x-www-form-urlencoded.
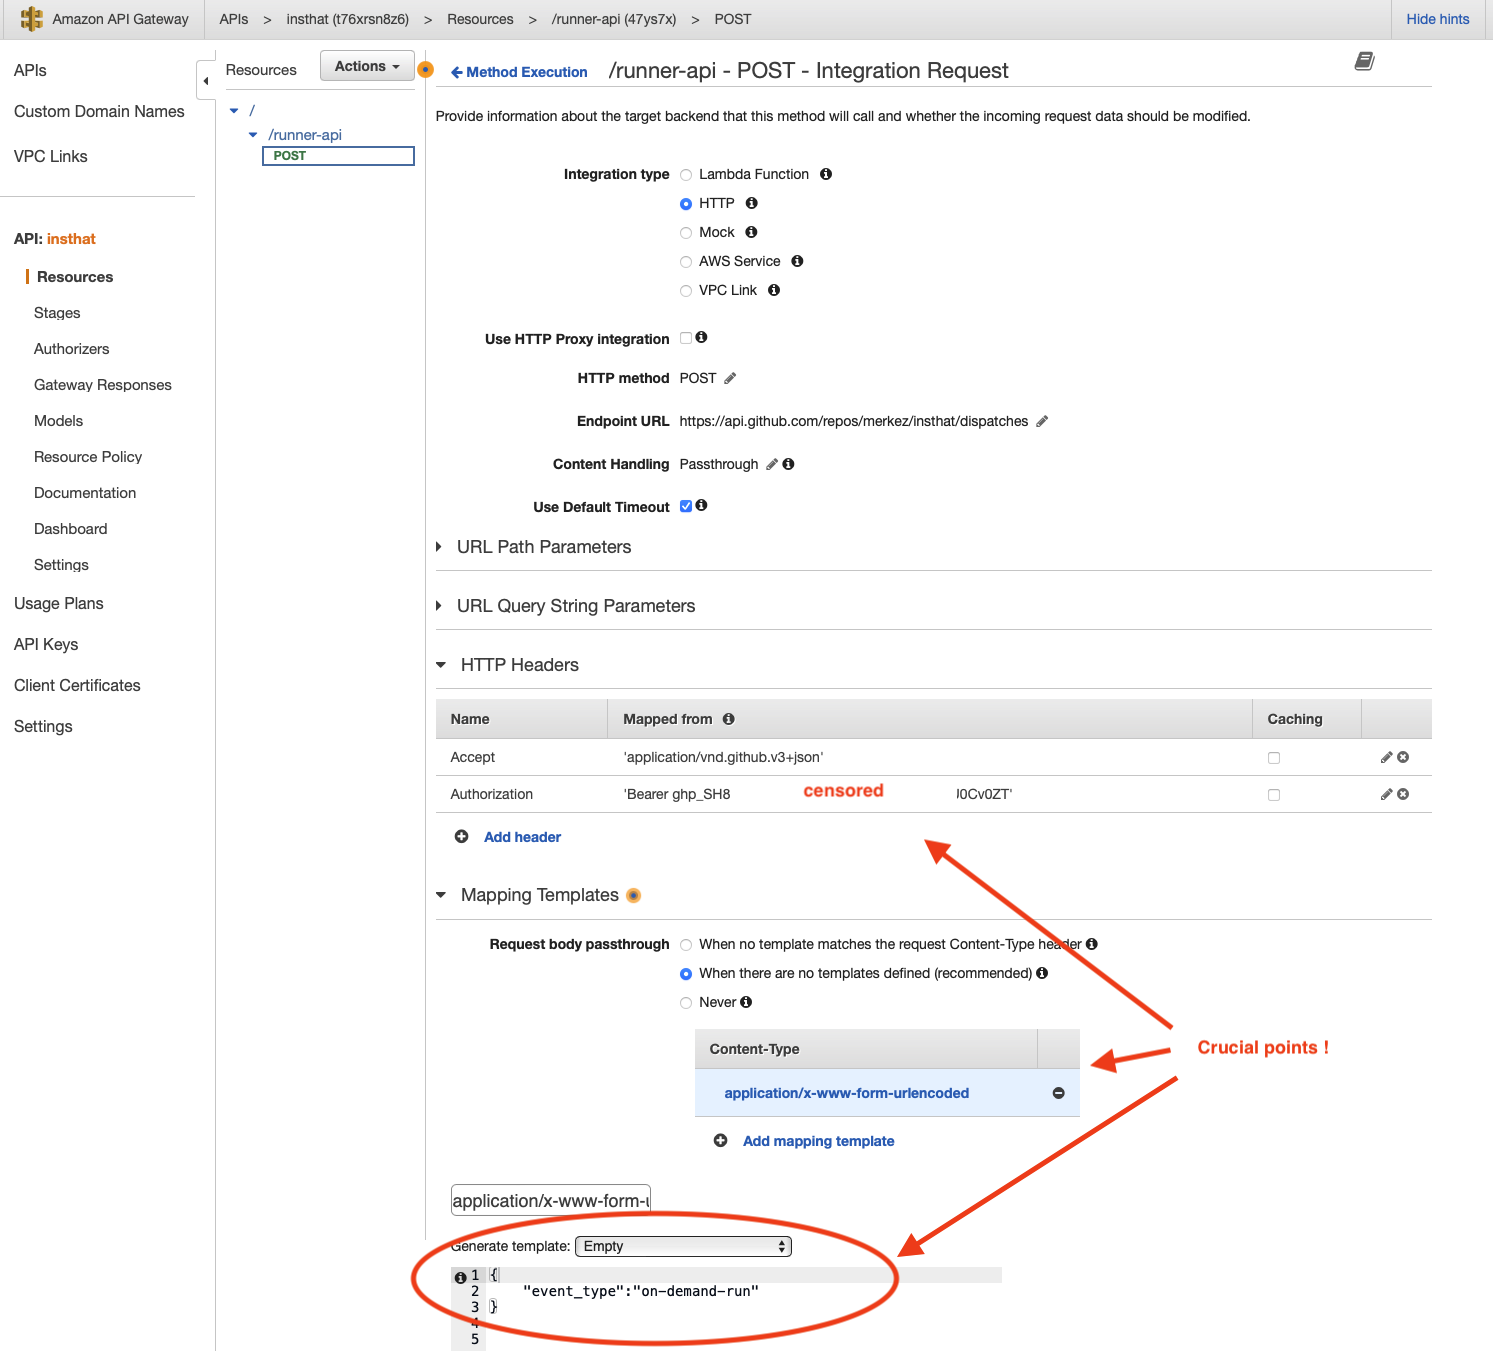
The body, {"event_type":"on-demand-run"} should match what you had in repository_dispath types.
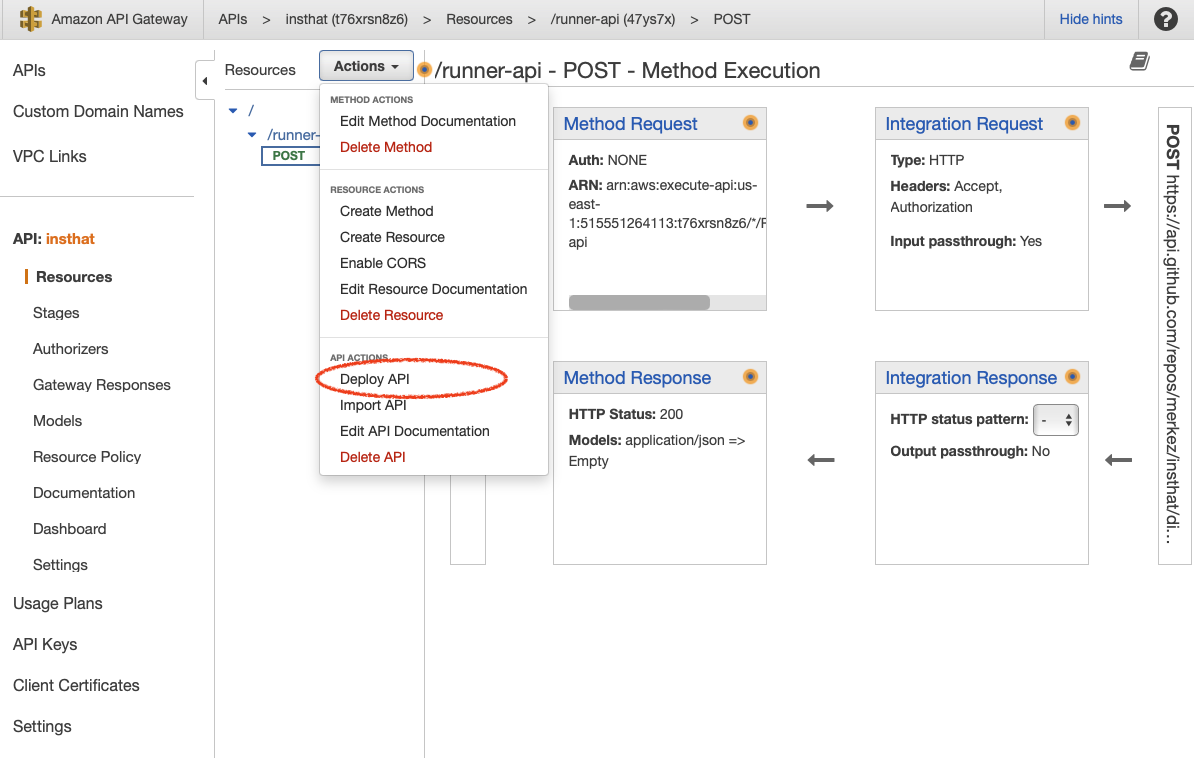
Lastly, deploy API on AWS Gateway. https://t76xrsn8z6.execute-api.us-east-1.amazonaws.com/execute-workflow
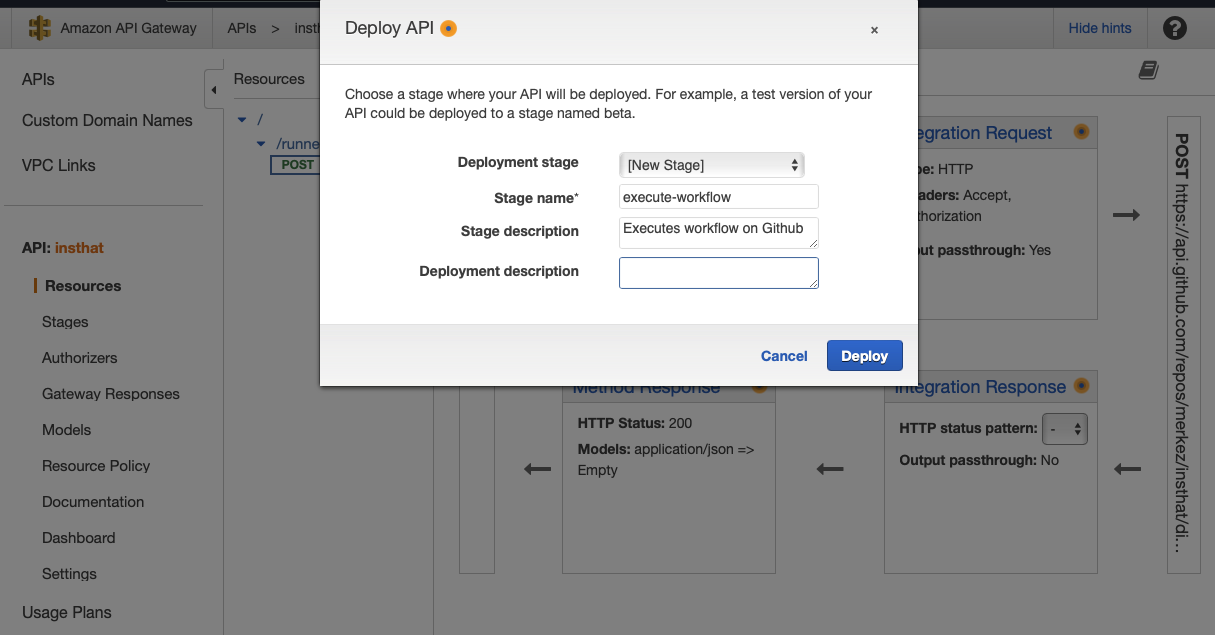
Set stage input fields.
After deployment, navigate to Stages, and check full “Invoke URL” as shown below:
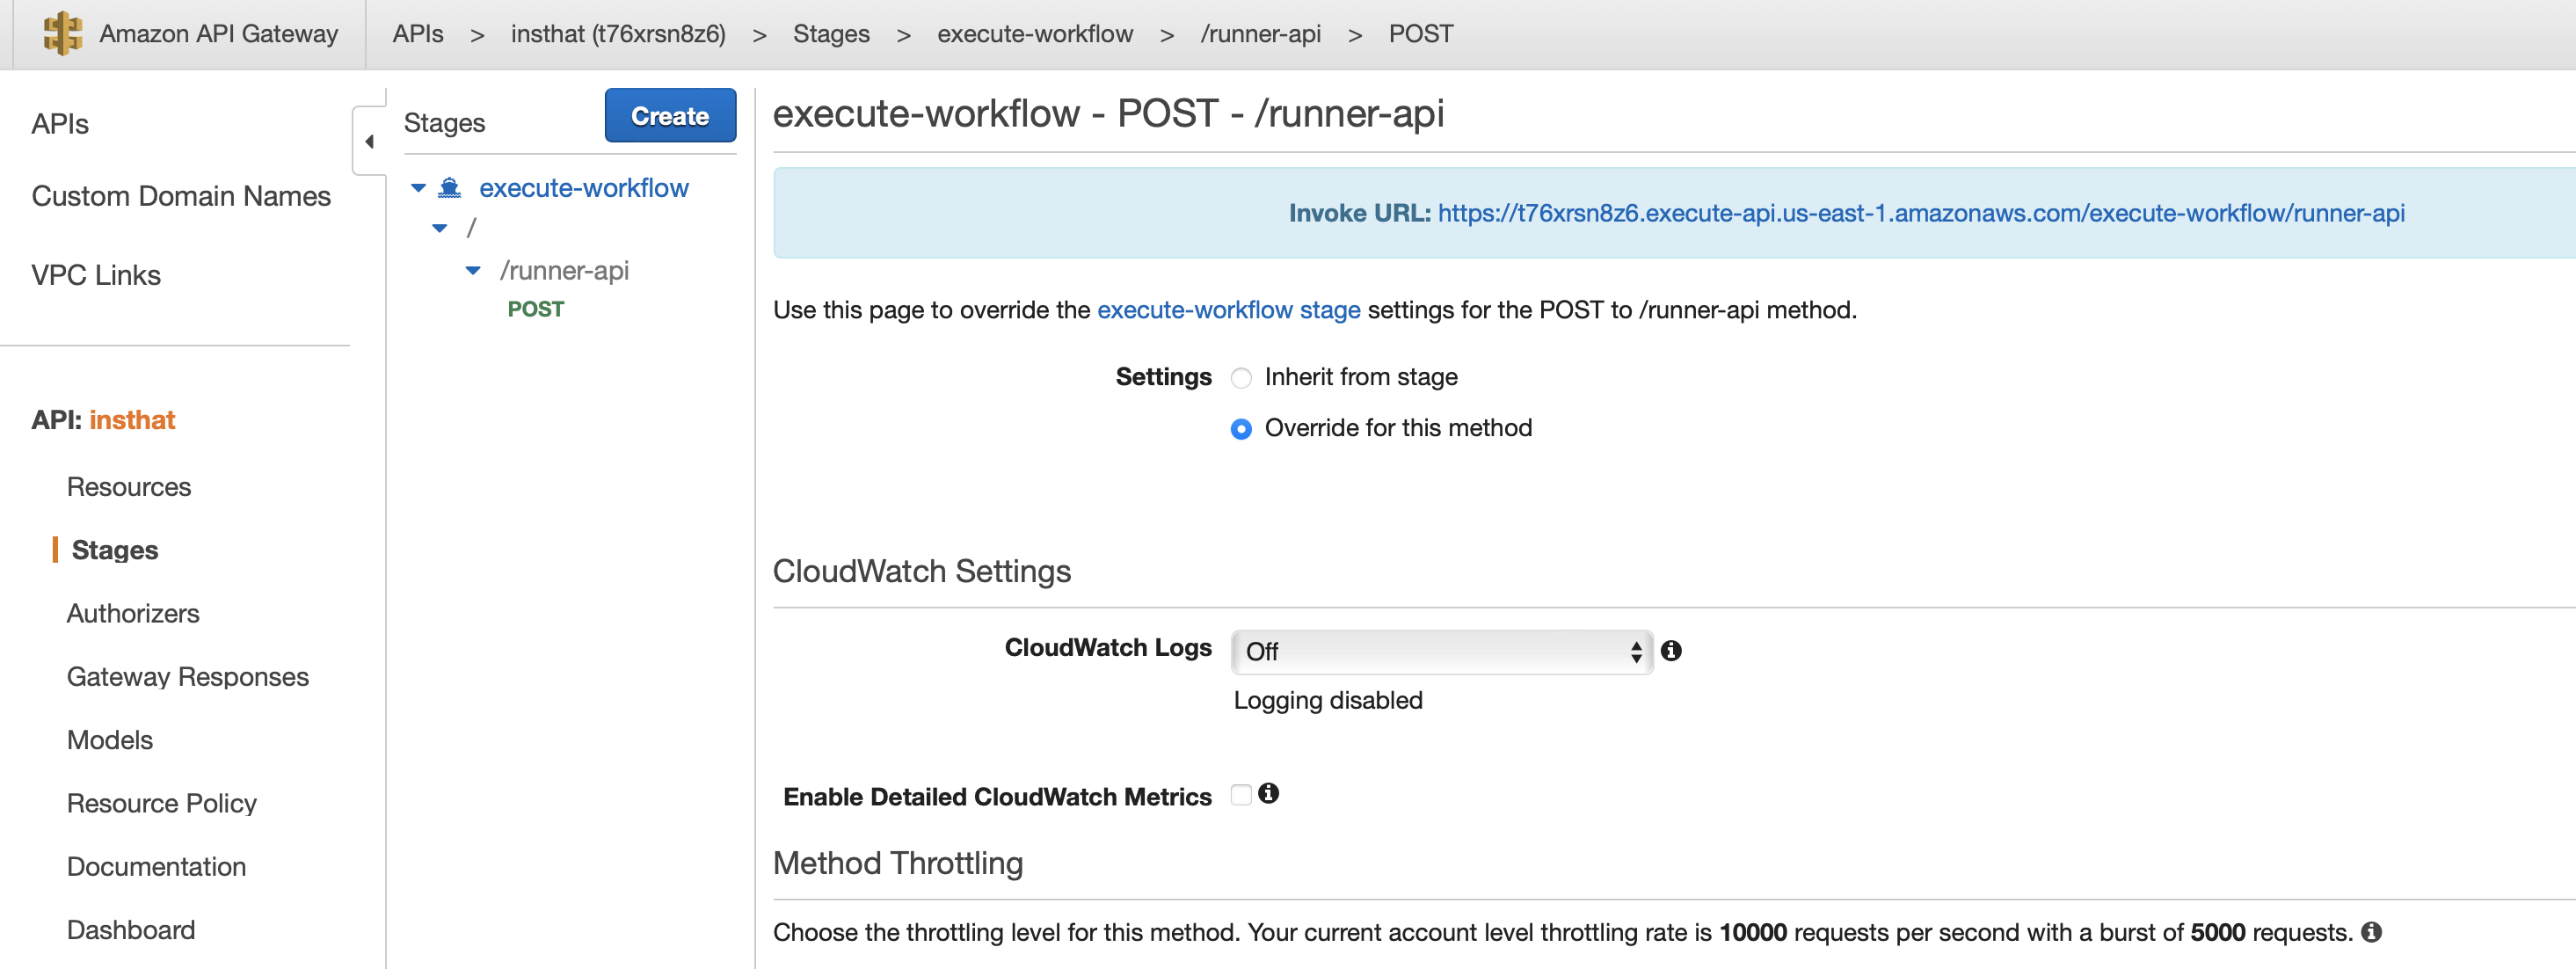
For our case Invoke URL is: https://t76xrsn8z6.execute-api.us-east-1.amazonaws.com/execute-workflow/runner-api
This URL will be used when creating the slack command.
We can now setup Slack command and give a try through Slack.
Setup Slack App
To create a Slash command, you need to create a Slack application on the workspace that you have permissions to. For the purpose of this demonstration, I will use the https://mrkzi.slack.com workspace.

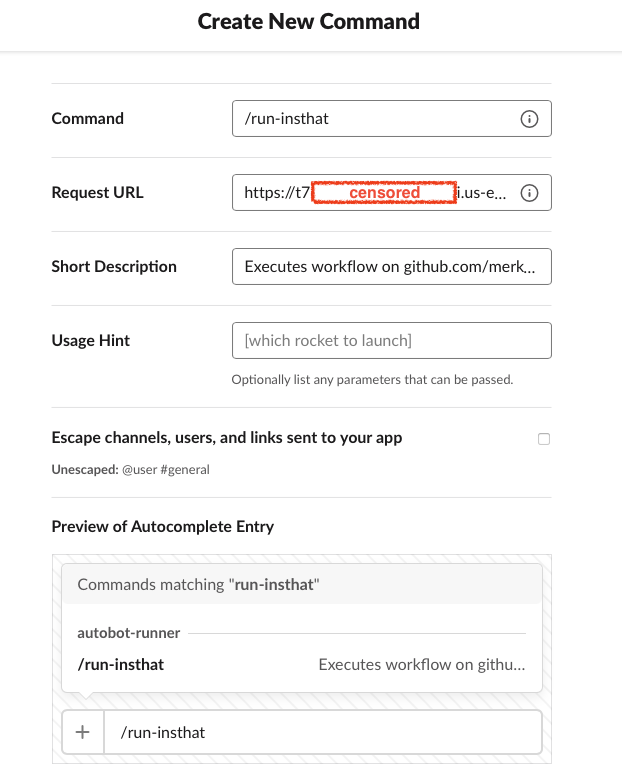
Once you have created the Slack application, you will need to go to the “Slash Commands” option in the application page of Slack and click on “Create New Command”. Slack will ask for some information, you can choose any command name you want to use. The most important field in this section is the Request URL, which should be retrieved from the AWS Gateway (Invoke URL) as explained in the previous step when setting up the AWS Gateway.
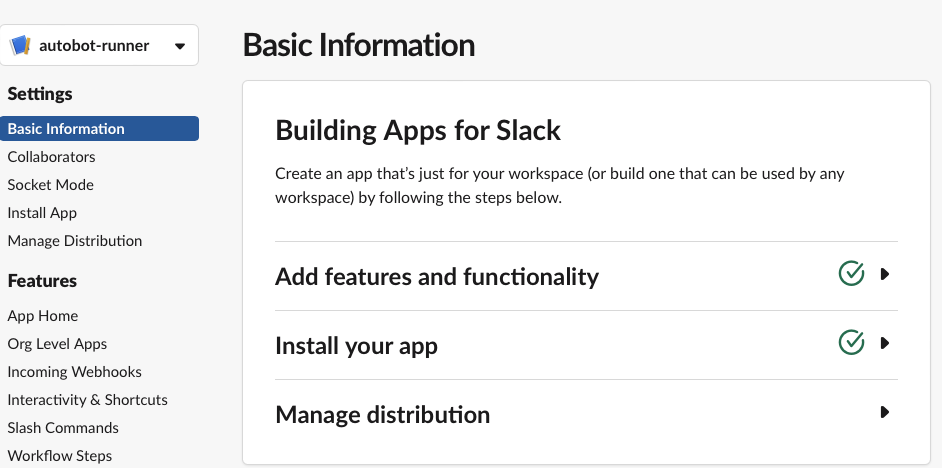
After you have completed the steps above, you will need to install the app you have created to the workspace by going to the “Basic Information” section of the app.
When it is done, you can go to Slack desktop application or on web, open workspace, you should be able to see autobot-runner or whatever you call it under apps of the workspace.
Then, type the command you generated, for this demonstration it is, /run-insthat, when it is typed following option will appear. Execute it and let Github execute the workflow :)
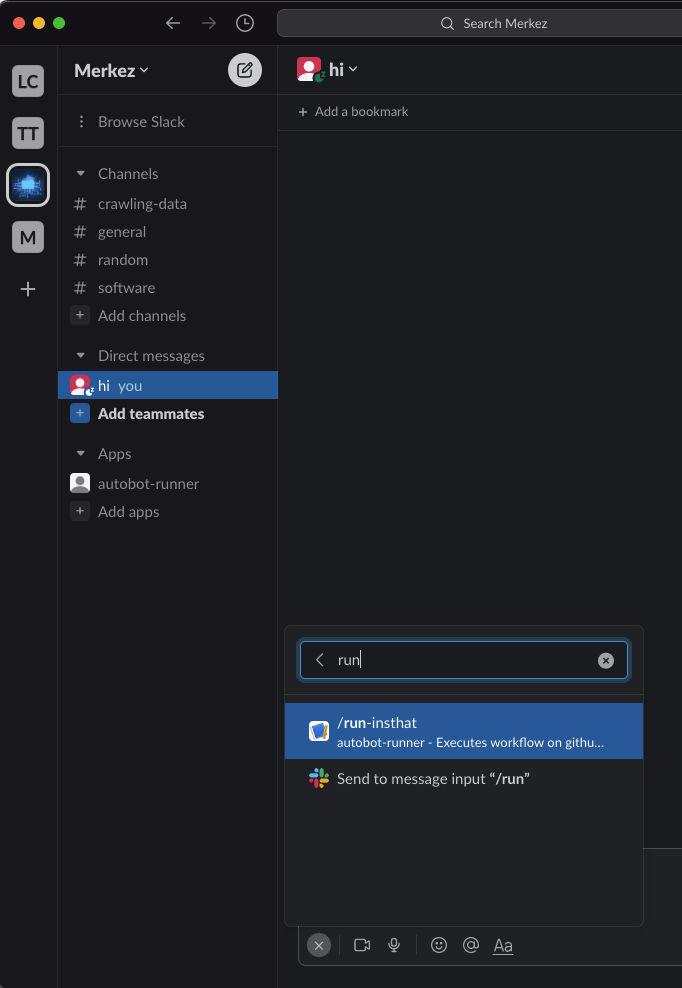
Once the command /run-insthat is executed on Slack, workflow will automatically run.

With this setup, you will be able to trigger the workflow on Github through Slack from any device that has the Slack app, such as a phone, tablet, or PC. This flexibility increases the level of convenience and ease of use, making it a more efficient and effective way to manage workflows.

(from https://xkcd.com/2268)